One item I came across recently was when you should create your stunning graphics for your game and when you should work on the mechanics of your game. The term ‘game’ here is meaning any project your are creating using Unity or any other game engine. It doesn’t necessarily have to be a game it can be an interactive website or architectural walk through. The answer of course is game mechanics first, the art and object can be added later. While you are creating the game mechanics (e.g. scripts) your game object or assets can be anything (cube or sphere etc.) that can represent the physical size/area the actual objects will be. In other words you can make a cube move just as easy as a animated character or camera.
Working through some new videos I found and converting all the scripting to versions that will work with Unity 5. Today I had to set one aside as it just was not working. It all boiled down to the original author created a public Transform variable ‘player’ and then drag and drop the player game object into the inspector.
I wanted to create a private reference variable and assign the value in the awake function, no drag and drop leaving the inspector less cluttered. When I did this I created a private GameObject variable ‘player’ and a private Vector3 variable ‘playerPos’. I would then assign their values in the Awake() function by finding with tag then a GetComponet for the transform.position Vector3. The problem I had was nothing would work when I tried to use the playerPos while I was moving around.
Well duh! When I got home I realize I initialized the playerPos at awake and it did not matter how much I moved around the value of that variable would not change.. 🙂 .
Solution: private Transform variable ‘player’, assign in awake using ‘player = GameObject.FindGameObjectWithTag(“Player”).transform’. When referencing my players position during play just use player.position. Kept the inspector less cluttered and worked like a champ.
I took a break from any and all tech this week. The computers were down and the TV switched from the boring network crap and so called ‘news’ to Netflix.
It was a great relaxing time which is now over. Time for the real world again and back to Blender and Unity!
No sooner had I posted for Monday, I fixed the parenting of the first/third person controllers to the platform problem. I kept the way the platform obtained each of the positions using individual empties and drawn gizmos for those positions. I then completely changed the way the platform was moved using ‘Vedtor3.MoveTowards’. I also included the check for the ‘Player’ tag prior to parenting. With this in place my platform mover worked like a champ! I will create a video tutorial on this once I get it perfected
What I like about the empty game objects occupying the location of the from and to destinations is that I can move those points anywhere in space (x, y or z) and the platform will track to them without a problem 🙂 .
I have also created a custom package for this ‘Moving Platform’ that I can import to other projects such as the Unity Book project I am working to convert to the new Unity5. This package bundled up everything I did for the fix including the walls keeping the player from walking off the platform while in motion, scripts and the positional empties.
Below is a demonstration of the ‘Moving Platform’ in action in my test project showing how the collider walls prevent the player from walking off the platform then I switch over to my Unity book project where I import the package. There I demonstrate a fly over of the landscape from position one to position two. Lastly I show the extensibility by adding a third position and preform a fly through of two positions (I skip the fly back for time reasons). I will create a full tutorial of this moving platform next week.
While adding the moving platform script to different game objects I found some very peculiar behavior presenting itself. When I added the holder script to my small platform everything works like a champ. Hop up on the platform, take a ride, jump up and down, walk off and everything works fine. When I add the holder script to the other platform using a little fancier script for the movement all hell breaks loose. Objects that have no association what so ever with the other platform start moving, even on game object off in the distance. I was and still am stumped by all that movement. When I adjusted the holder script with a check to identify the object entering the trigger and only will be affected by an object it should be affected by e.g. the Player all that extra movement stopped and the script started trying to act as it should. There is still a small bug but I’ll get to the bottom of that. When I do I’ll expand on that bug and the fix.
Latest: depending on how I am moving the platform ‘moving’ or ‘Vector3.Lerp’, when I parent the first person or third person controllers will result in how the controller will act. If I ‘move’ the platform, parenting seems to have no effect. When I Vector3.Lerp the platform parent works just fine and the character controller follows along great. The first person controller behaves a little weird as in the camera changes position (probably because to the parenting but I’ll get that fixed as it is a minor problem. Now I have to figure a way to move the platform without using Lerp because I don’t like that movement, I want the movement more liner rather than damped as the Vector3.Lerp is. I have a couple if ideas but I’ll check the online documentation first.
I am back to translating the unity Book creating the Garden Gnome game into Unity 5. Stepping back I decided to change around how the platforms move in the test scenes and found some great ideas for a script that should give me a lot of flexibility. We will see how it works. I’ll post an early update as soon as I get the script the way I want which should be soon. Looking at the scripting references it should be fairly straight forward.
I created the WoodMan shown in the last post and using Rigify added a simple rig, exported as .FBX then imported. By just adding the animator component and using the mocaps from the asset store was able to animate the character in nothing flat.
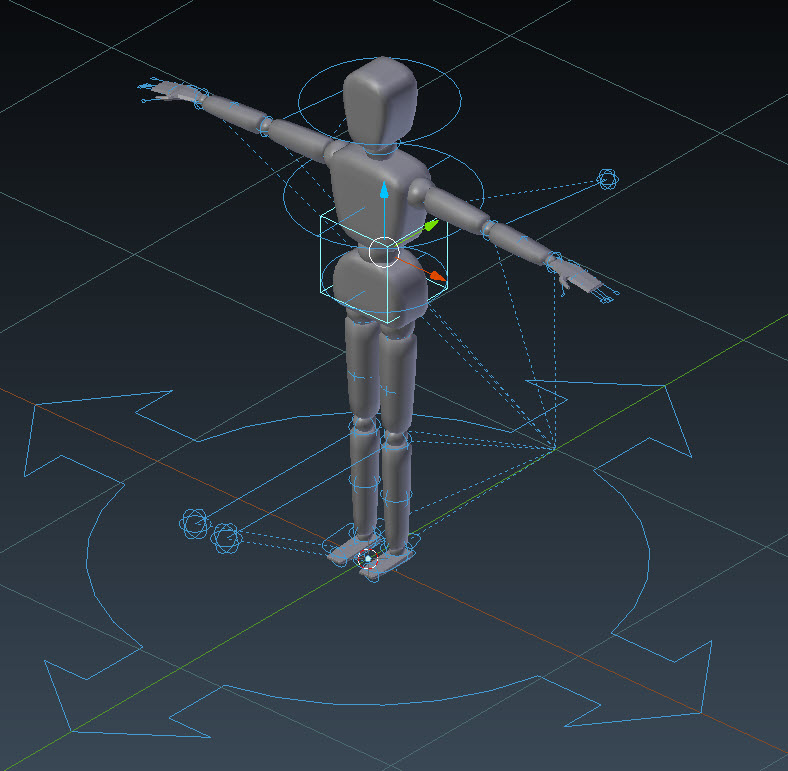
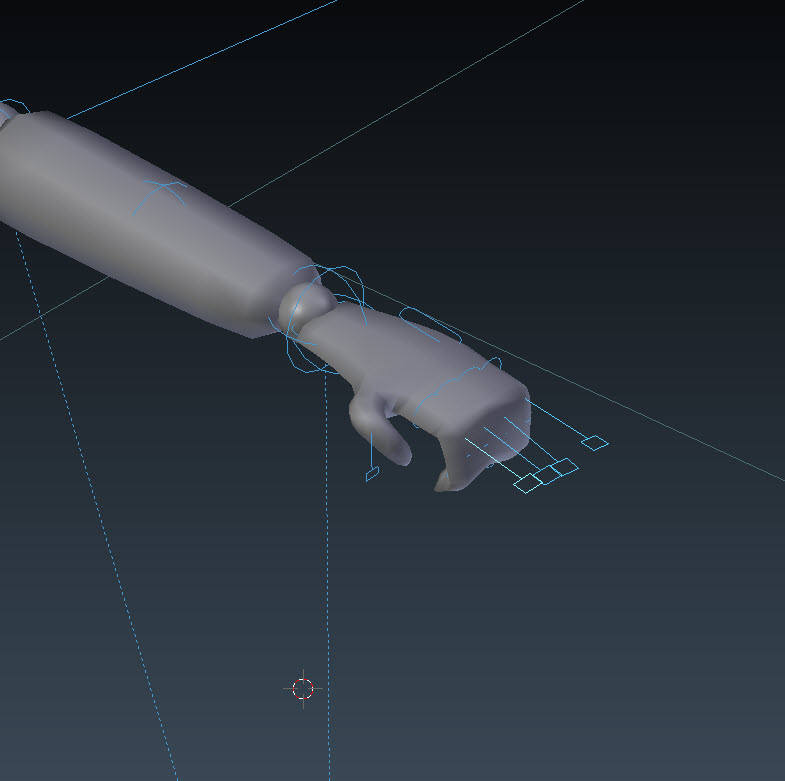
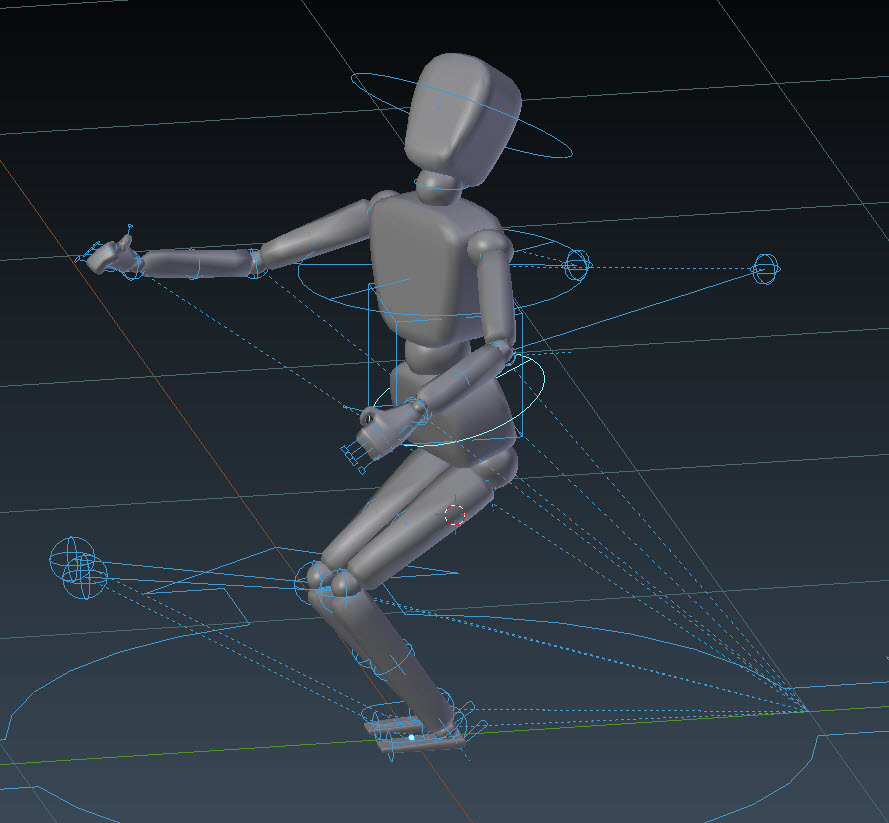
I completed the stealth learning project from Unity Technologies last Friday. The game plays great but still have some tweaks to the scripts for some finishing touches. Since the game is running good for the time being I decided to head on to Blender for a quick model of a bi-pedal humanoid type of model. I created something similar to a wooden artists prop. Once that was complete I rigged him using Rigify and played with posing him for a bit. At one point I put him in a contortion I felt like while working out this morning 🙂 I am planning on using him for a Unity project I am testing. I could not get the correct assets from the individuals creating this little game so I have to make them myself. This is cheating a bit as I can’t test his assets but I can test the code using my creations. Hopefully that is good enough for them.
Here is my little Wooden Man. Note: He has no textures presently, just a clay representation right now.
I spent the end of last week working with the Unity Stealth project in Unity 5. Reading some of the comments about this project with Unity 5 I had some concerns with adapting the old learning project. So I have complete 3 of the four chapters and have had just about zero problems converting everything. The only errors I have had have been my own typographical errors. I consider that pretty dang awesome.
Some of the “Learning” tutorials on the Unity web site are out of date. One in particular was out of date when the new UI system started to be implemented at 4.6 (last year). I feel this is good for me. Now I can start using some of the techniques I should have beem learning from all the books, videos I have been reading and watching in order to get up to speed with Unity 5. Reading, watching and writing snippets of code are one thing, doing is completely different. I am a firm believer in the notion that if you can imagine yourself completing a task, your brain does not know the difference from you actually completing a task and your imagining yourself completing a task. The difference here is seeing my self completing this and the code itself actually working 🙂
A good example of this was the complete rewrite of some UI code, when I was finished the script was less than half the size of the original. Kudos here to Unity for creating a UI requiring substantially less code than the old UI objects and seemingly easier to use.
However, there are some areas of the scripting that use a lot more code than previously so I guess you can call it a wash. I’ll place some examples of both here to remind me of what has changed and what I need to do and also for anybody that may come into this site and might find the information useful.
Here are four images showing the additional image effects provided in Unity 5 and I love playing with them. There are much more where those come from, I have not touched on the abilities.
Without Effects
With Effects
Without Effects
With Effects
New site covering miscellaneous activities including my favorite activity: Blender