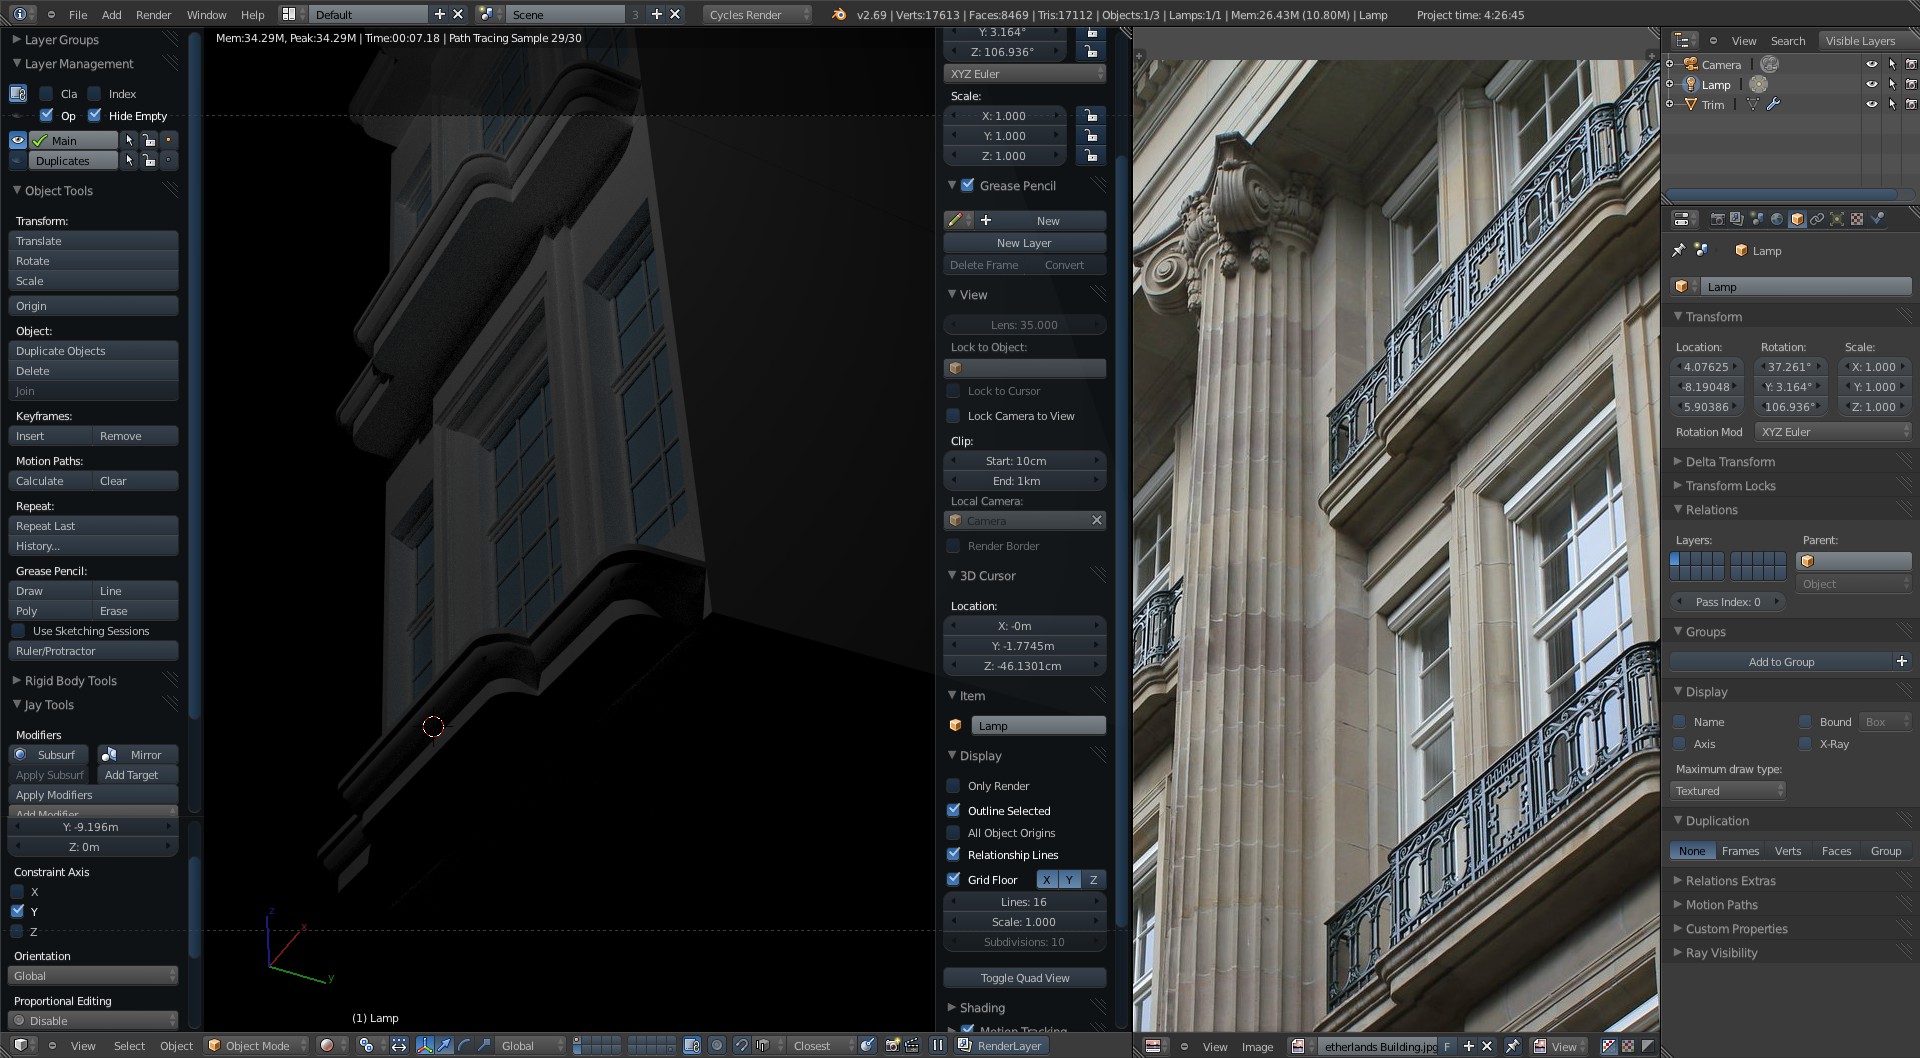
Here is the latest rendition. I finished up the column cap last night but was not happy with it and went to bed early as usual. While I was trying to get to sleep I kept thinking about different ways to model the ‘leaves’ or whatever is supposed to be placed there. I Googled for a Corinthian column but found only Corinthian Architecture but nothing that resembled what was done for the Module. However I liked what was done very much and wanted to do a better job. I ended up crawling out of bed at 12:30am to give it another shot with a different technique I had been thinking about. I started the ‘leaves’ as was shown in the Module using a plane and extruding here and there to get the basic shape. I then added additional geometry with loop cuts and then used the same principle we used on the balcony railing by snapping the leaf geometry to curved section of the column cap. A solidify modifier came next along with the rotation of parts of the geometry to arrive at a shape I was happy with. I then applied all modifiers, duplicated it then scaled it down, rotating by 45deg, added a mirror modifier and applied it. Then I joined everything together, placed the origin at the location of the cap center, added an empty, array modifier with 3 instances spaced by, again 45deg to get all placed into position. Even with all that explanation it was actually quick and simple using a lot of the little (new to me) techniques I have learned throughout these modules.
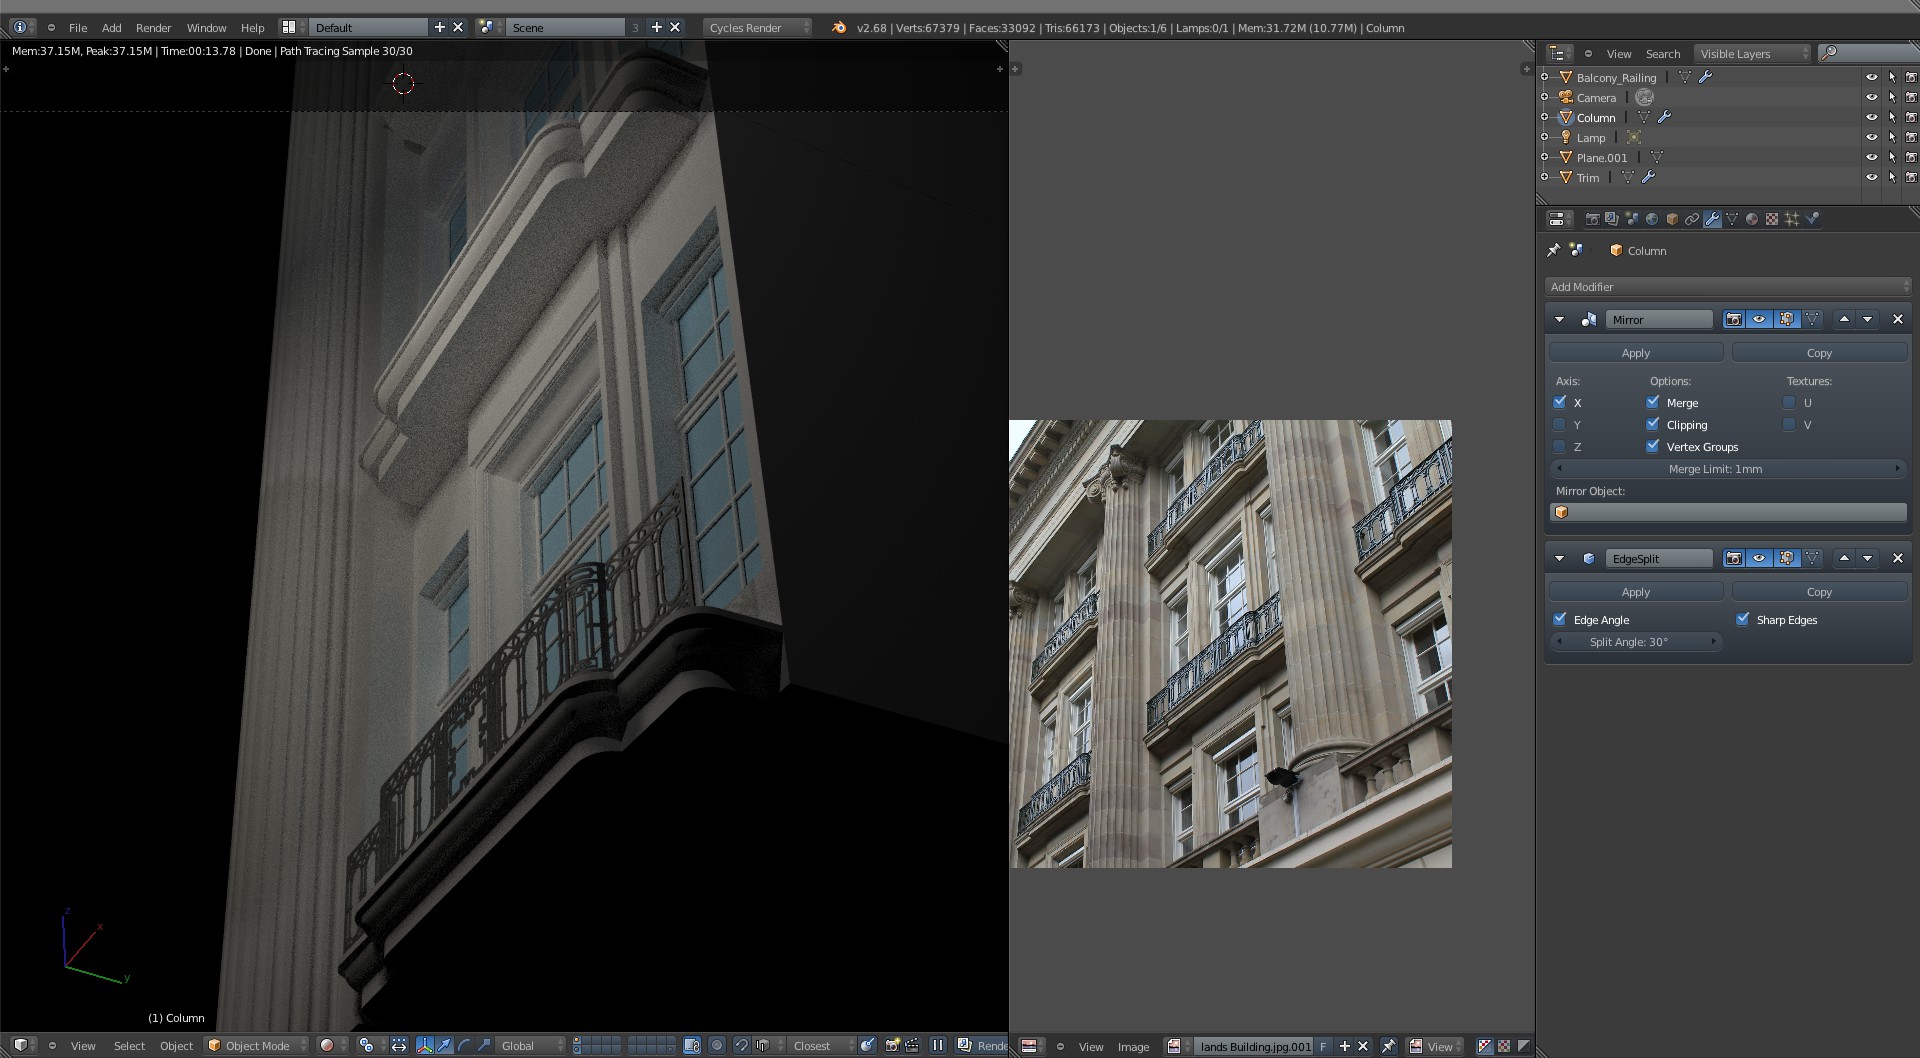
It has been a busy couple of weeks here at work but I have not stopped what I have been working on, just working with a little less available time. Here is the most recent screen shot.
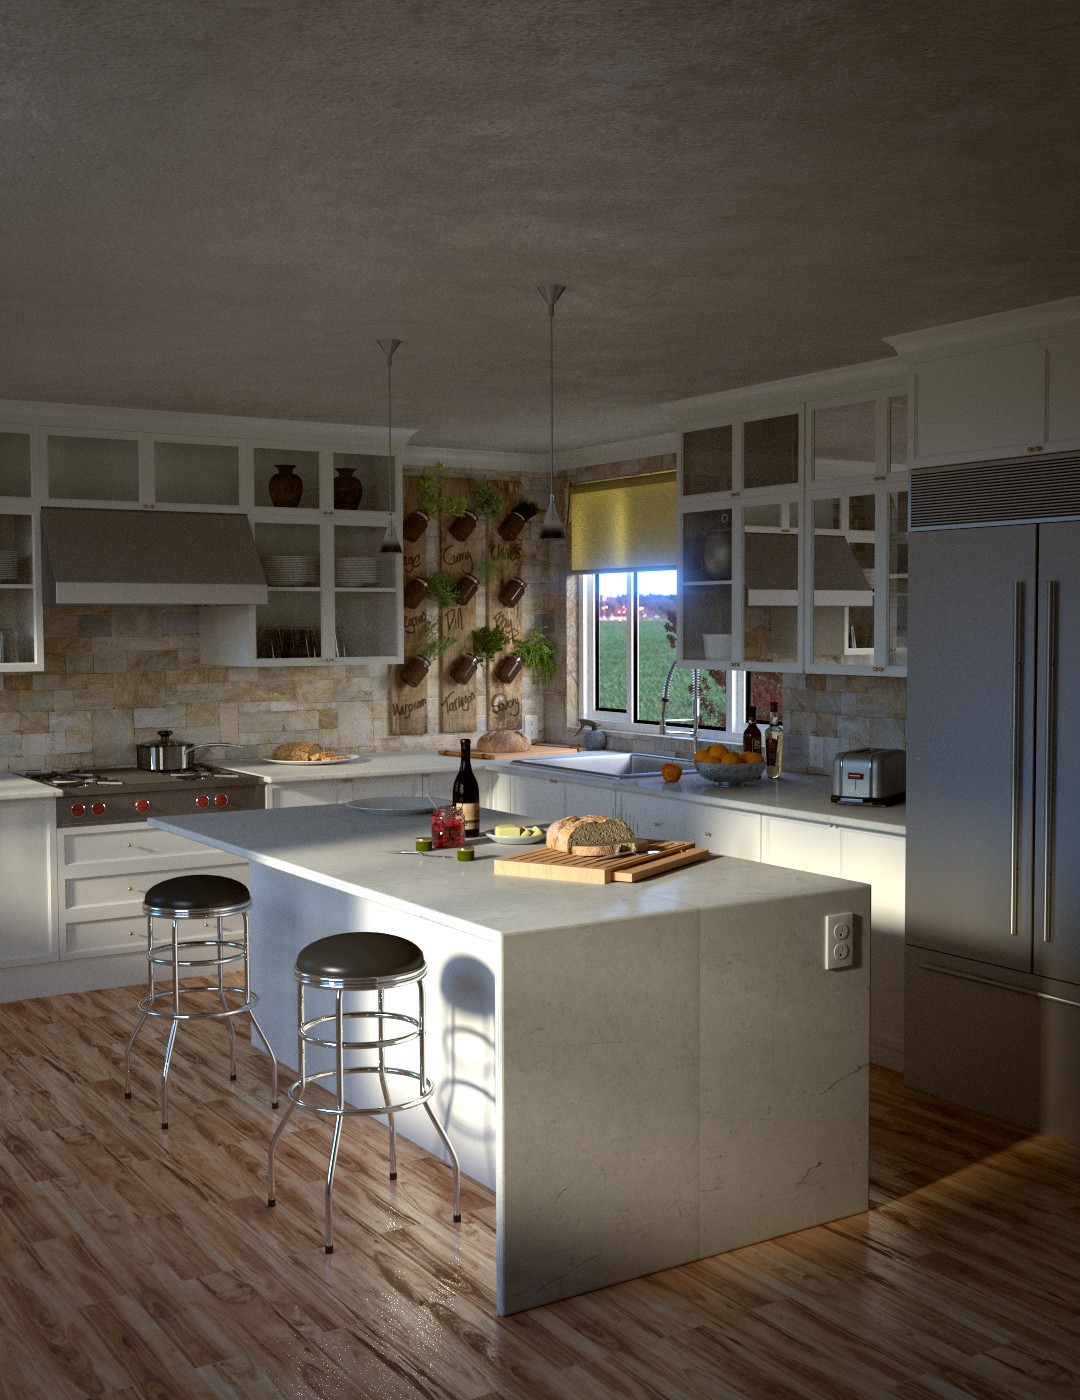
I decided to pop in here during the middle of the week to show the final composite of the Kitchen module. Notice I said final composite not final render. I had to render again because I wanted to the the glass correct on the cabinets and along with the correct material ID mask set (rather than cheat like I did in the last one). Notice the glass on the right hand side look like mirrors and until I get the normals facing the correct direction that is way it was. I cheated on the last one by removing the glass completely. The final render and composite will come tomorrow when the final render is complete and I can just insert the .exr into the composite.
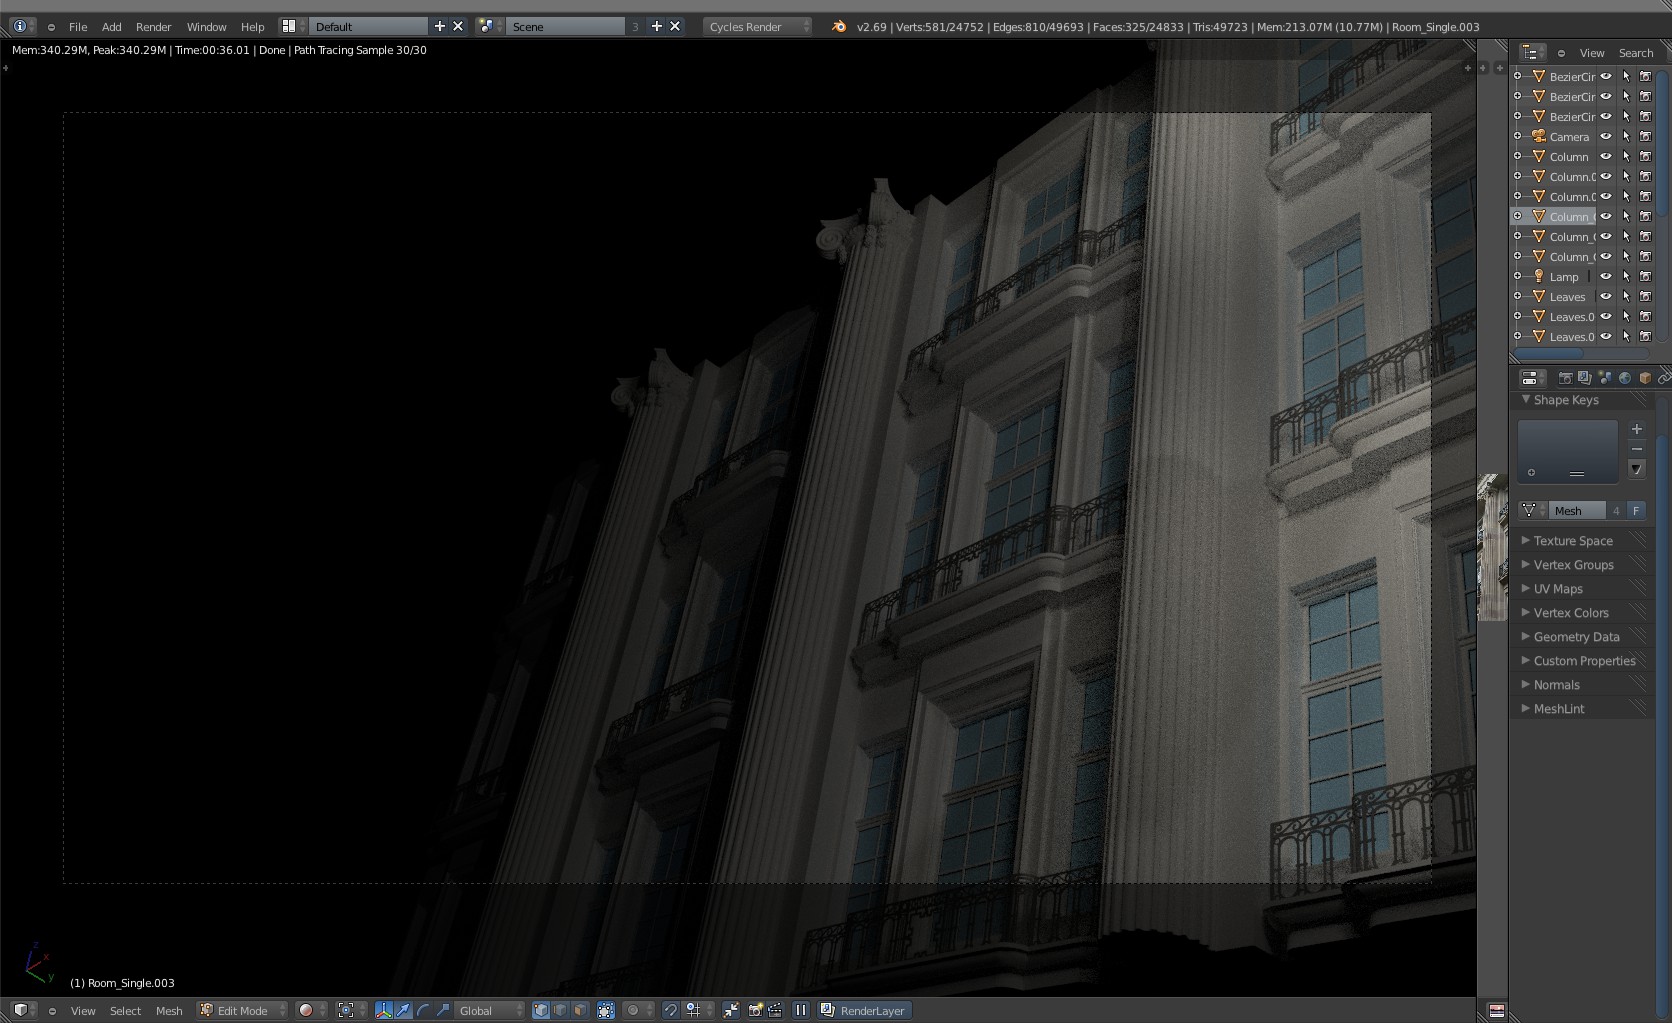
Along with this is a shot of the start of the European Architecture this one may take me longer than normal. This one almost requires perfection and I am a perfectionist.
Kitchen – Notice the mirror glass on the right hand side.
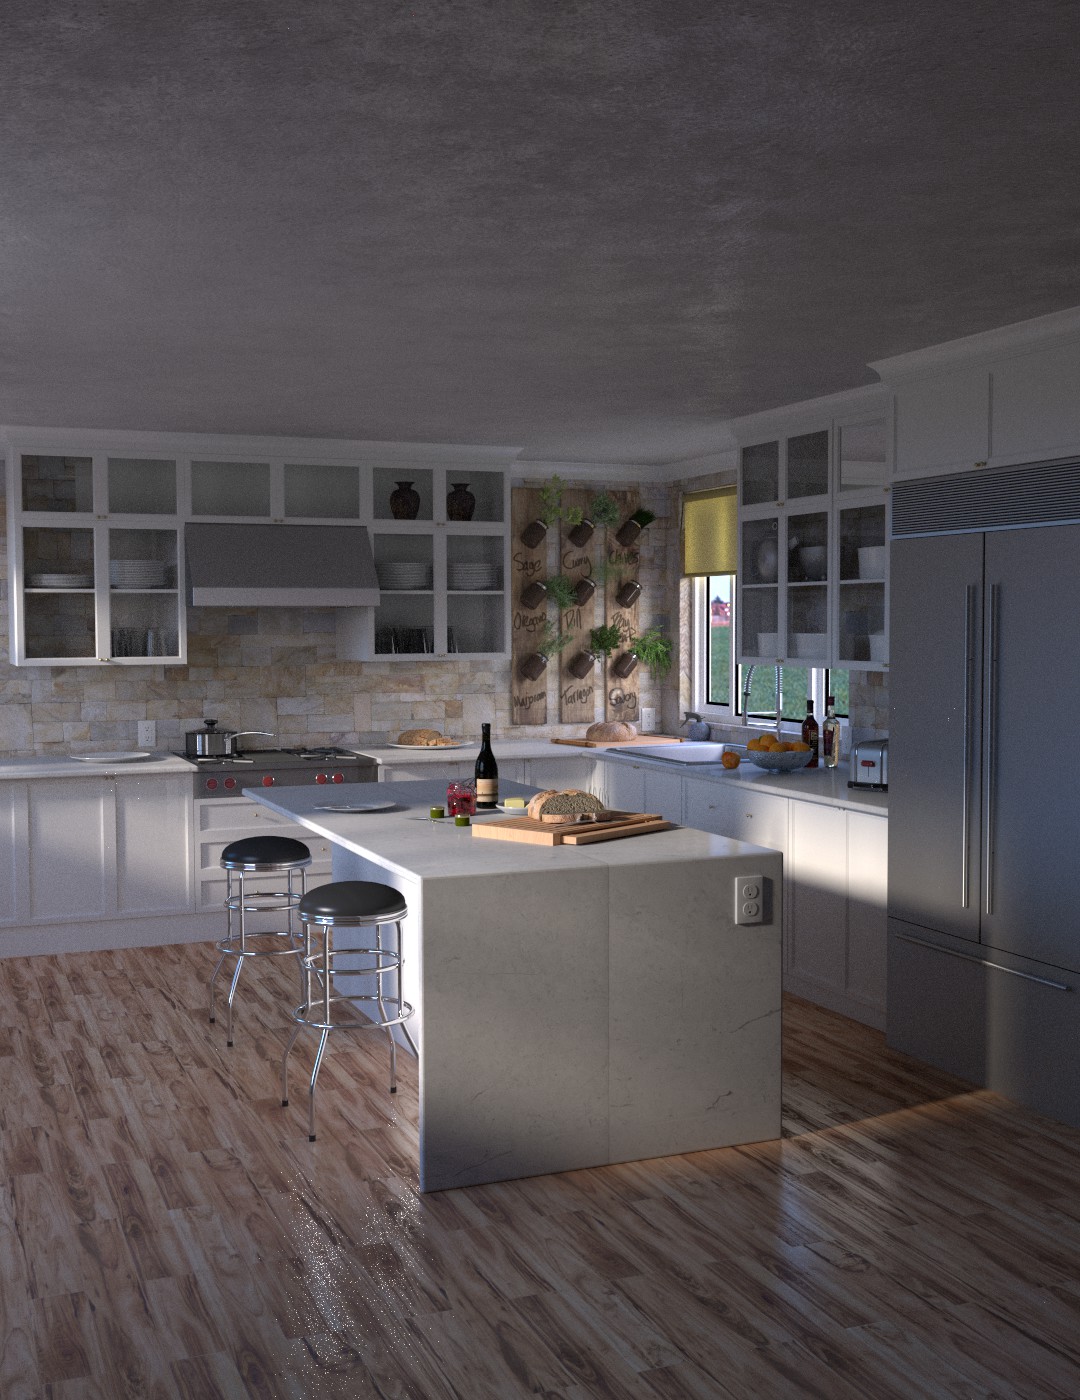
Final Kitchen Render from the Architecture Academy. This turned out to be a relatively easy module. I tried to keep with the texturing and layout but changed the modeling is minor ways. The crown molding was accomplished by creating an outline of the trim piece using a ‘curve’ circle setting the type to vector and creating the profile and using the control points to create the curved area. I then created a path using a ‘curve’ circle setting the type to vector and with subdividing I snapped the points to each vertex around the periphery of the room. I then added the trim profile I created earlier as a bevel object and wallah I had trim around the kitchen. I modified to sink to match a typical drop in sink and changed the window in front of the sink to more closely match most other kitchen window designs I have seen. The windows that are out of the view of the camera I changed to 3 x 3 pane windows to try and give more variation to the shadows. This final render is in work at the present time because I was having troubles with the glass material showing up as a mirror. I have been sick all weekend and am going to take some vitamins and go to bed right now and hopefully be better tomorrow. Here is close the final render. I’ll finish with a composite render tomorrow morning.
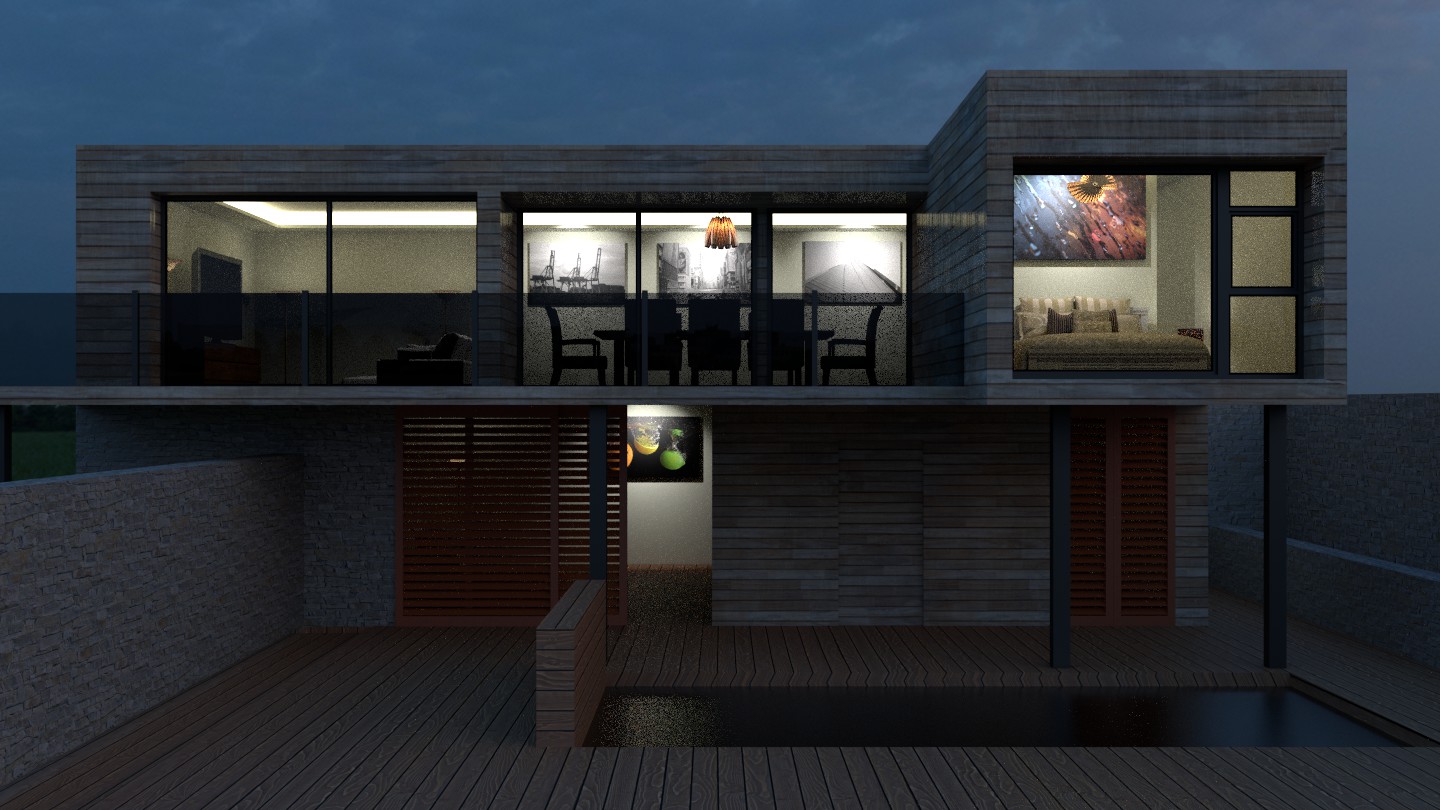
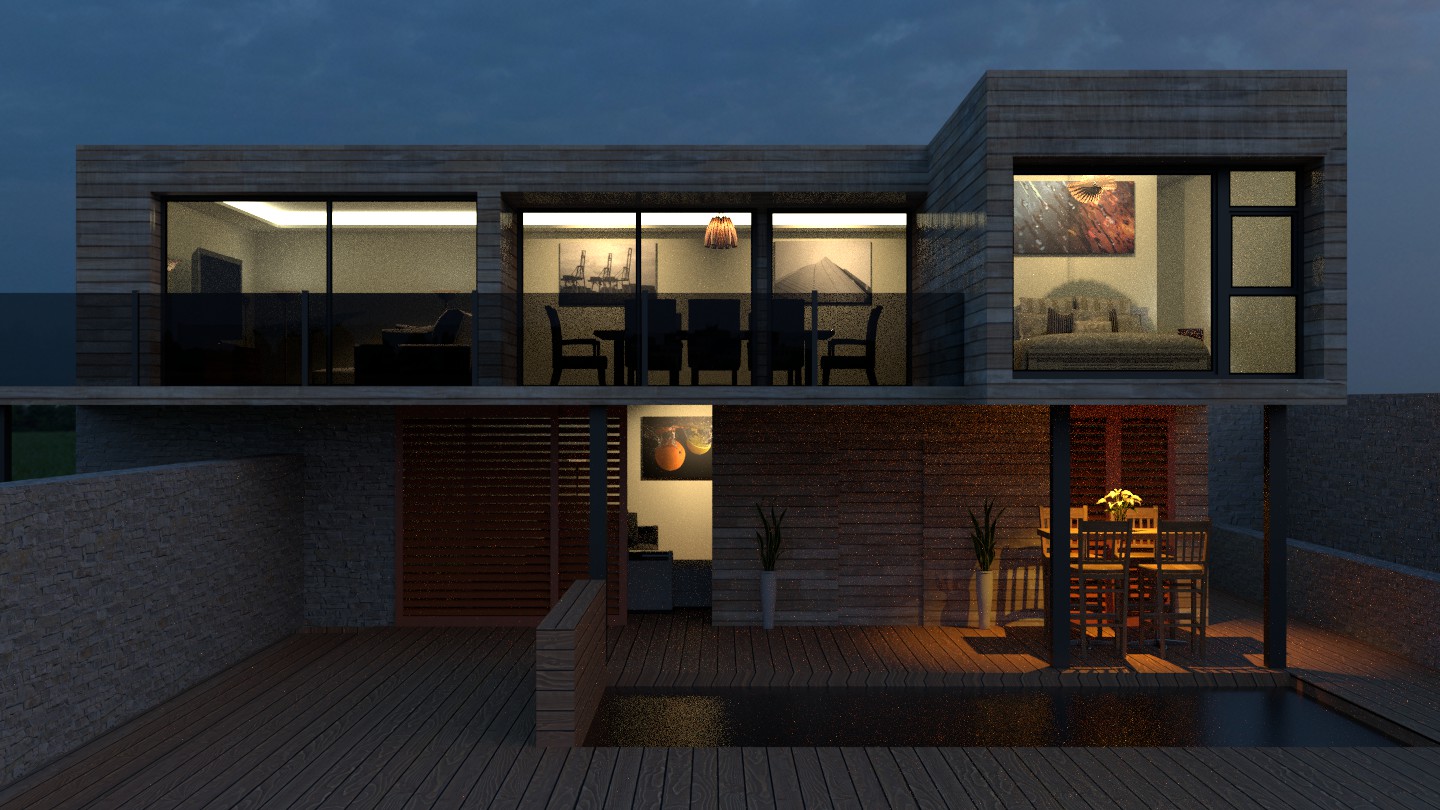
I decided to post only once per week until Christmas vacation where I will have just about 3 weeks off to blend and relax. Here is the final Pool Deck. Next week look forward to the Completed Kitchen.
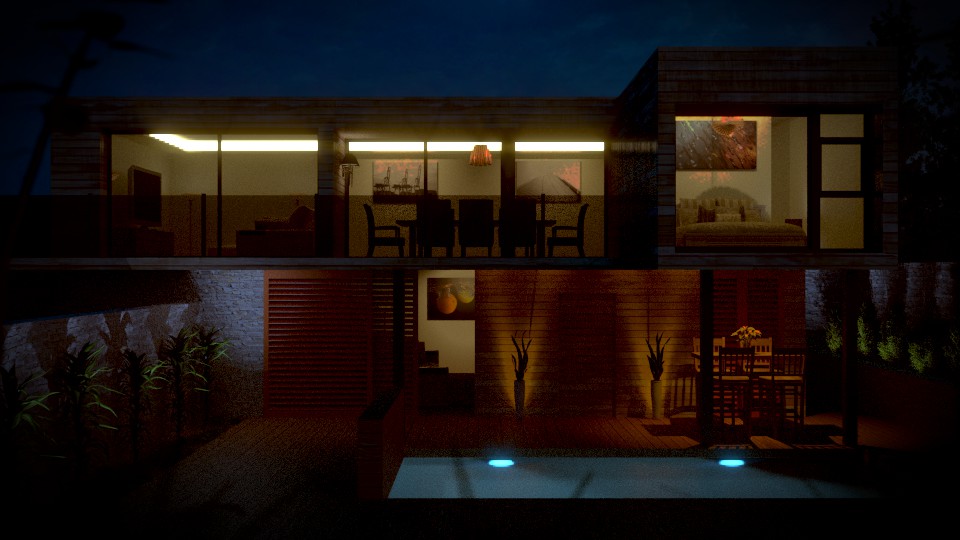
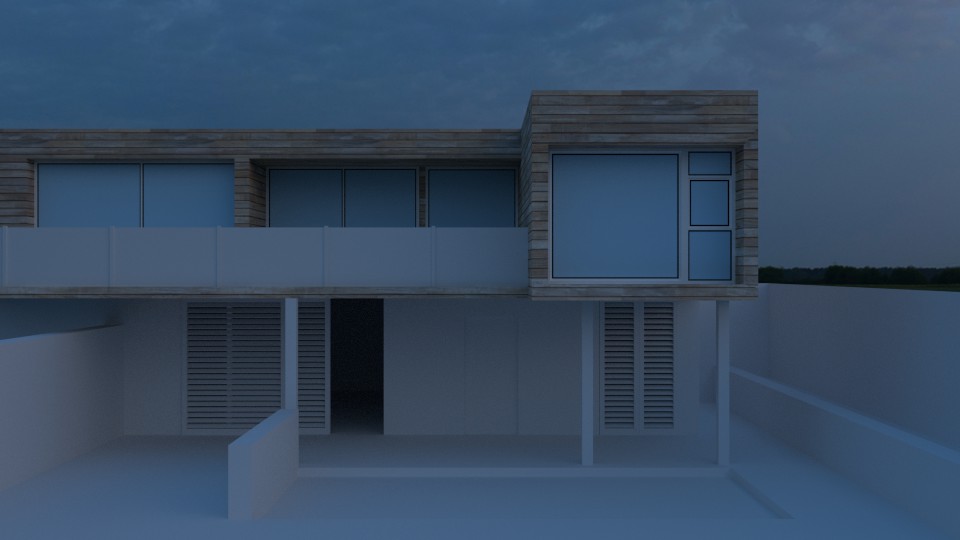
Figuring out the IES lighting has been easy going online and reading others small problems solved all of mine no problem. Time is the problem now because I get to playing around with the different lights and with so much variation I should just pick a couple and play with the rest later. The image below is not the latest render, that is happening right now but I want to go to bed.
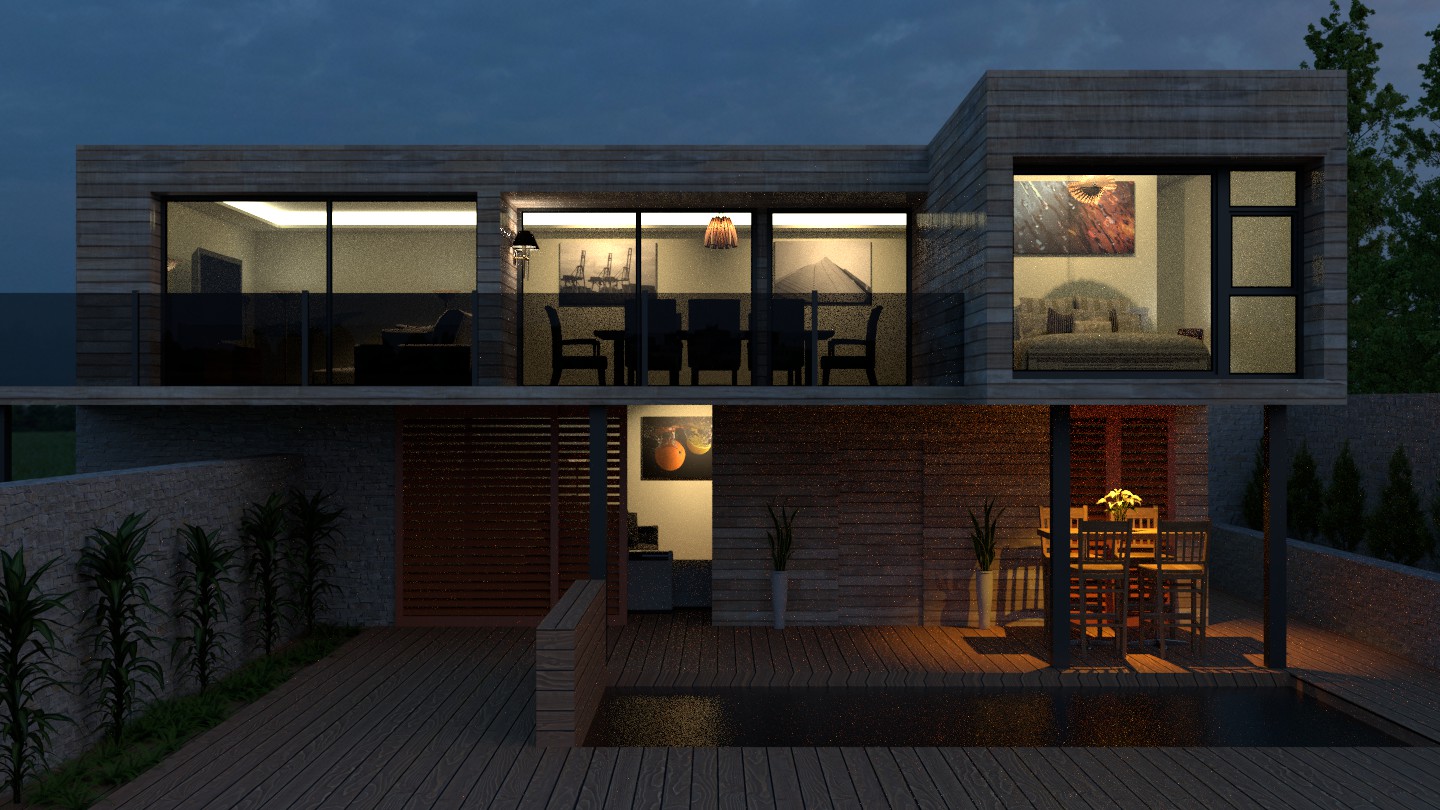
I know the lights upstairs are blown out but I promise the next one is much better. That is the plus side of playing around with the settings and using an experimental approach to understand what needs to be done. (I may get up and post the latest render when it finishes)
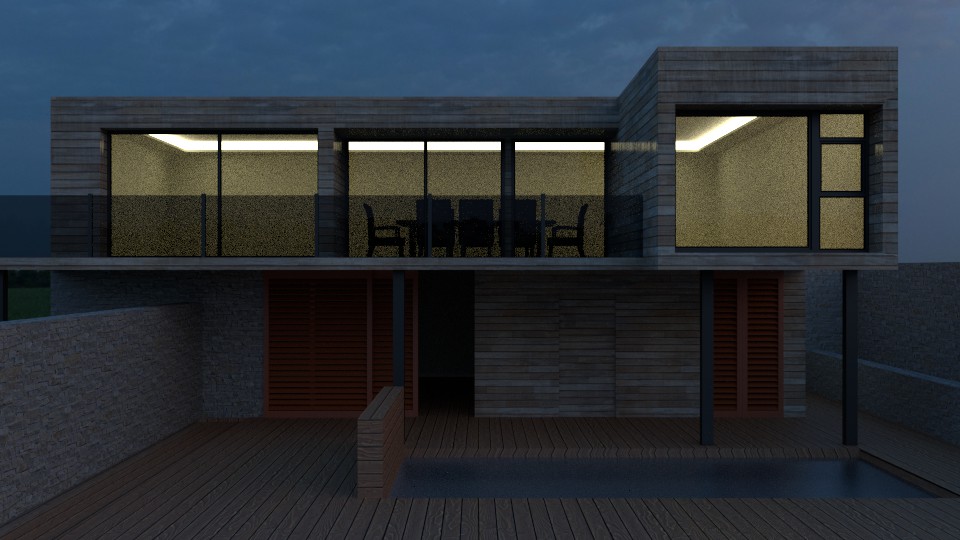
Edit: Told you I may get up and post the latest render :0
I love how the lighting turned out under the overhang, above the outdoor seating area.
Playing with IES lighting addon for the last couple of days and once you get the hang of how it works it is pretty cool. I did some tests with a few different lights with the results below. (Having some trouble posting with wordpress at the moment so you may have to bear with me for a few days while I figure this one out.
It seems the problem may be with my browser on my main computer. I can edit the posts just fine on the Macbook Air. So as to the above image, I picked the lamp to the right for my Pool Deck interior lighting but I wish you could change the color temp on the fly with these lamps. It takes some preview renders and when you have to pick the color temp right after the import it makes adjustments difficult. (I could always be using the addon incorrect 🙂 )
Man UV unwrapping was not cooperating last night. As I use the latest builds just about every day I think that had a lot to do with it. Need to check out the wiki for possible documentation I was missing. Everything ended up working good but some things were just not doing what I expected.
Looks like it was not a problem with any build but some new features I was misinterpreting. This first image is of the second floor and where I had the most problems although after identifying what I had done wrong everything went smooth after that.
The next image is the beginning of part four, the interior. I did some things different from the video. In the video he gave the walls around the house the white interior material which makes these walls white inside and out. I selected all the faces and separated them from the mesh into there own object, added a solidify and added the additional material to the interior surface. Now, if I decide to move the camera angle possibly showing the sides the materials will be correct.
The big thing I did differently was the indirect lighting around the ceiling of the second floor. I created the edge loop and separated it as its own object but here I pressed ‘F’ to create one face, used the inset tool with the check box set to even and inset that face. I then deleted the inner face leaving the ledge around the periphery. When I did this I did not need to move around vertices and all edges were straight rather than angled. From then on it was solidify, add materials and everything worked perfect after that.
Could not get online to post anything yesterday, bummer.
I spent about an hour modeling part one of the Pool Deck from the Architecture Academy yesterday and a bit more time refining the model and my technique as opposed to Andrews. I modified the model by redistributing the deck railing posts, positioning better from a building ‘code’ point of view and added a couple of structural posts below the deck. The posts were added below the deck because there was no way this design would pass any kind of inspection without them :).
From a modeling technique point of view I started using the ‘Enhanced 3D Cursor’ addon and snapping to edges, faces or vertices to place my objects more precisely and I found edge and vertex snapping much easier to use than face. I also took the time to correctly label all objects as I created them, or very shortly afterward. This does not add much time to the actual modeling but helps tremendously in the organization of your models, going back and doing this later is tedious.
I have come to love the Enhanced 3D Cursor addon and use of snapping as it gives me a more accurate model which is important to me being an Aerospace Manufacturing Engineer with a Architectural drafting background I like to be precise.
New site covering miscellaneous activities including my favorite activity: Blender

 Soon to come, the final model and render