Working for 20 years as a Manufacturing Engineer for various Aerospace companies the only 3D programs I had any interaction with were CATIA, Solidworks, AutoCad and NCAD so it is no surprise Blender is a new world. I love it!
I also enjoy most outdoor activities, fishing, hiking, camping etc. Most music and College Football (UW Huskies!). Favorite vacation spot: Hawaii.
As you can see in this screen shot there is not much different from yesterday. This is the first time using duplifaces and his explanation of what they are and how they work was a little confusing. I will do better tonight with listening and hopefully understanding what he is saying.
Last night I also downloaded the 30 day trial version of Maya 2013 for looking at / experimenting with and no I do not plan on purchasing a $4000.00 program, I just want the experience with this application.
Well, I did not get the final render last night 🙁 . I had some problems getting the alpha channel to show up on my input nodes. After finally getting that fixed I was able to continue but my bedtime started to approach and I had to quit. Here is the node setup so far.
I am not exactly happy with the way Johnathan’s node set up is working however, I will complete this scene using his technique and then try Andrew’s and compare the two.
I did look closer at the screen shot and studying the image in the lower left you can see a very hard line indicating the horizon and in the top composited image that line has been almost completely removed. This was the intended result and not as bad as I originally indicated. I will still complete this with Andrew’s technique and compare.
I was not able to finish the final render last night, it was going to take to long to render the .exr files I would need for compositing (1.5 hrs) so I rendered while I went to bed and I will finish up tonight. Here is the first render and starting of the compositing.
First Render
Compositing in Blender
You will notice, on the left side I have to input nodes one for the alpha channel and one for the full .exr image. However, in the tutorial the top node (full image) has all the outputs I need for the composite so I’m not sure if I really need the second (lower) node. This is the difference between the version the tutorial was created from and my version. Changes are made to Blender on a daily basis 🙂
I can also see a line between the ocean modifiers resolution (20 and 16). I may have to up the 16 a little bit to eliminate that line. I’ll finish compositing before I do that.
Getting close to the final render. Here is the scene, in cycles as shown in the view port. Compositing is next with the final render tomorrow or the next day
I know the scene is a little noisy right now but I captured the screen shot at only 18 out of 35 samples. I will do the final render with the ocean planes at a resolution of 20, 16 and 12 with 2000 samples. That should yield a good render going into compositing.
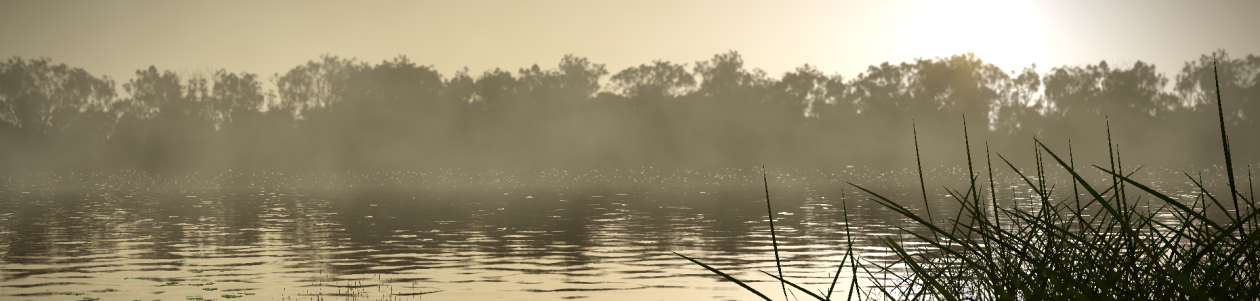
I started this new tutorial last night, an ocean scene from CG Cookie
The background is a texture applied to a cylinder. I will combine the processes shown by Johnathan Williamson for the ocean and background and those of Andrew Price when it comes to the compositing and lighting. The rendering will be done using the cycles rendering engine. I am crossing my fingers that it turns out the way in envision it 🙂
I did not get as much done last night as I was hoping to, the textures were not separate in the source files so I went with what I could do at the time. I did, however get up at 12:00am and found the textures packed within the .blend files and saved them out to my drive for finishing this tonight. Here is what I did, Model and Render.
New site covering miscellaneous activities including my favorite activity: Blender